REVIEW · MILAN
Private Milan Street Photography Walking Tour with an Artist
Book on Viator →Operated by Ersan Ceviz · Bookable on Viator
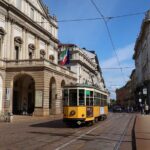
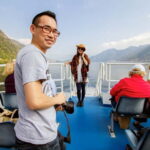
Milan looks different when you have a camera in hand. This private street photography walking tour led by artist Ersan Ceviz mixes iconic landmarks with creative neighborhoods, so you can practice seeing the city like a photographer. I especially liked the start at the Leica Store, where you can get inspired and meet other camera people, and the hands-on city pointers that make each stop easier to shoot well. One thing to consider: it’s about good weather and there’s moderate walking, so if you hate crowds and rain, plan your clothing and timing carefully.
You also get a very practical route that moves from grand architecture to street art and then to water reflections. The pacing works well for a 3 to 4 hour session, and the tour is built around photo chances rather than sitting and listening. Since it ends in a different location, you’ll want to plan your next metro/bus or onward wander so you’re not left guessing.
In This Review
- Key highlights
- Where Leica Gear Sets Your Photo Mission
- Sant’Ambrogio For Timing, Texture, and Quiet Angles
- Ticinese: Street Art and Side Streets for Color and Stories
- Tortona and Porta Genova: Fashion, Design, and Photo Patterns
- Darsena to Navigli Canals: Reflections That Actually Teach Composition
- Price and Value for a Private Artist-Led Walk
- How to Get Better Fast on This Route
- Who This Tour Fits Best (and Who Might Skip It)
- Should You Book This Milan Street Photography Walk?
- FAQ
- How long is the Private Milan Street Photography Walking Tour?
- Where does the tour start?
- Where does the tour end?
- Is the tour in English?
- Are there admission tickets you need to pay at the stops?
- What if the weather is poor?
Key highlights
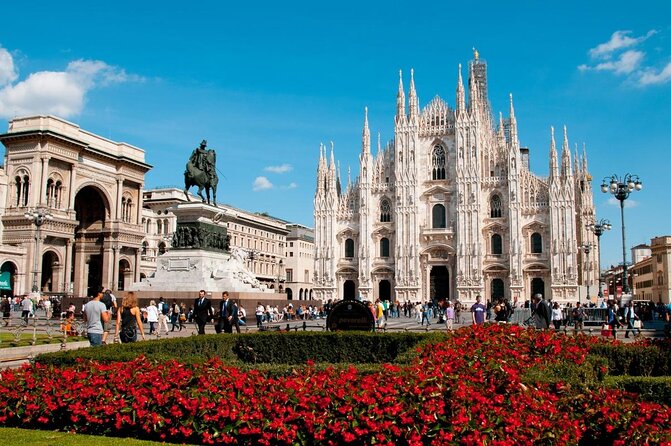
- Leica Store meetup vibe: Start near Piazza del Duomo at the Leica Store & Galerie Milano for gear inspiration and photographer networking.
- Artist-guided photo pointers: You’ll get city-specific shooting guidance, not just a lecture.
- Classic + modern Milan in one loop: Duomo area, Sant’Ambrogio, Ticinese, Porta Genova/Via Tortona, then Darsena and Navigli canals.
- Plenty of free-to-enter sights: Listed stops include free admission, so your cost stays focused on the tour itself.
- Water reflections at the end: Darsena and Navigli canals are ideal for texture, color, and reflective shots.
- English tour for planning: It’s offered in English, which helps if you want clear, actionable coaching.
Where Leica Gear Sets Your Photo Mission
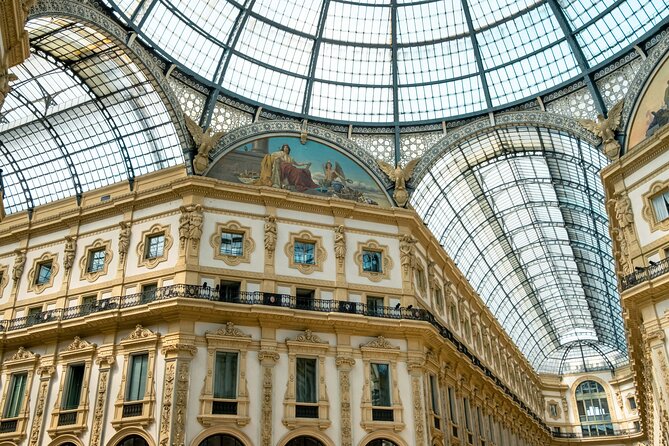
The tour begins near Piazza del Duomo at the Leica Store & Galerie Milano (Via Giuseppe Mengoni, 4). This is a smart opener because it gets you thinking in images immediately—before you even hit the streets—rather than turning your camera on only after you’ve already walked past the good stuff.
I like that you’re not just standing under a landmark. You have a chance to network and connect with fellow photographers, and you’ll also see the latest Leica camera gear. Even if you don’t shoot Leica, that gear-focus moment nudges you to slow down and notice details: lines, angles, how people frame scenes, and how gear choices shape your style.
Practical note: this start area is very central, so you’ll likely arrive with plenty of energy. Still, bring whatever keeps you comfortable for 3 to 4 hours (good walking shoes, sun protection, and a light layer if the evening cools down).
You can also read our reviews of more walking tours in Milan


Sant’Ambrogio For Timing, Texture, and Quiet Angles
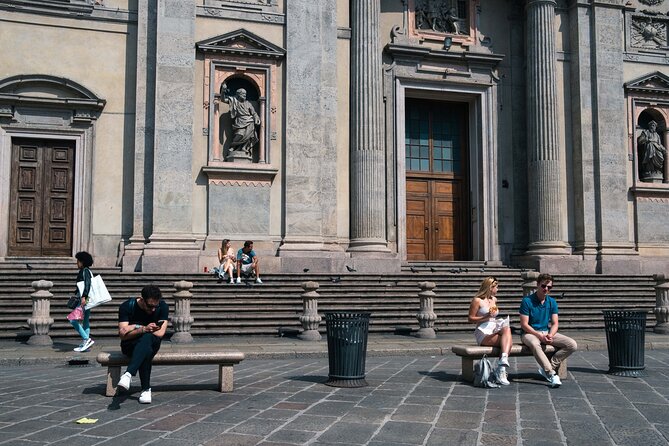
Next you head to Basilica di Sant’Ambrogio and the nearby Università Cattolica del Sacro Cuore. This part of Milan feels calmer and more academic than the shopping-and-street-art zones, which is great because it gives you a break from the visual noise.
The basilica is one of Milan’s oldest churches, so you get architectural details that can hold up in both wide shots and close-ups. If you like shooting patterns—stone textures, doorways, arches, and repeat shapes—this stop gives you plenty of ways to practice without needing a “perfect” street moment.
Then you shift to the university area for courtyards and classical architecture. Courtyards can be tricky because light changes quickly and shadows move, but that also makes them useful for learning how to adapt your framing on the fly. The stop is short (about 30 minutes), so treat it like a warm-up sprint: choose two or three shots you want, then use the rest of the time to refine.
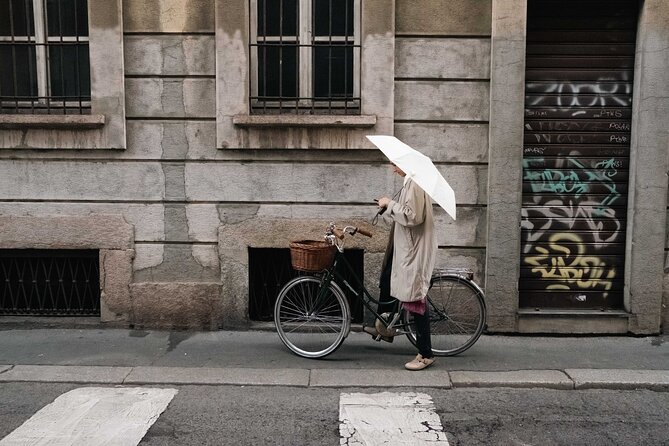
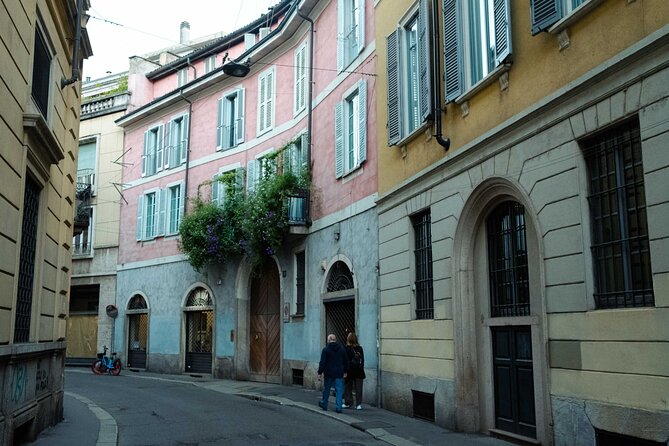
Ticinese: Street Art and Side Streets for Color and Stories
After the solemn stone of Sant’Ambrogio, the tour moves into Ticinese. This is the neighborhood mode-switch: hip cafes, vintage boutiques, and street art show up fast, and suddenly your camera choices become more about mood and storytelling.
I really like this stop for beginners because it’s visual learning without being intimidating. Murals, colorful walls, and unique architecture are natural composition aids. If you’re more advanced, Ticinese still works because you can experiment with details (graffiti textures, layered posters) or try small variations—different focal lengths, closer crop-in shots, and tighter portrait-style frames of people on the street.
You’ll have about an hour here, which is enough time to find a couple of strong “backgrounds” and then wait for human moments to appear in front of them. One quiet caution: street art changes, and crowds move; so don’t chase one corner forever. Use your time to get several angles, then move.
Tortona and Porta Genova: Fashion, Design, and Photo Patterns
As the tour continues, you reach the Porta Genova area and Via Tortona, where fashion and design blend into everyday street scenes. This is a good section if you want to practice a different kind of street photography: less about only murals, more about how style, storefronts, signage, textures, and people interact.
You’re given a short window here (around 30 minutes), so it’s a great place to work with a mini plan. Pick one theme—patterns on buildings, stylish storefront composition, or street art close to design-forward streets. Then shoot that theme from two or three distances. When time is tight, it’s better to get a small set of strong frames than to wander randomly.
The tour also mentions chances to capture chic storefronts and stylishly dressed locals, plus murals and street art. That mix matters because it forces you to balance “objects” (signage, windows, textures) with “subjects” (people, posture, interaction). If you’re learning, that balance is where your images start looking intentional instead of accidental.
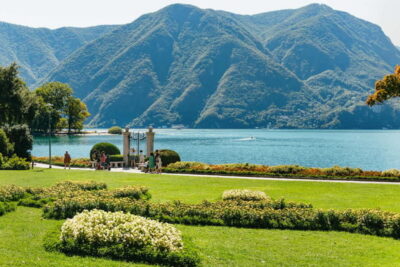
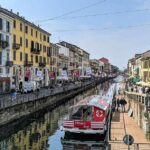
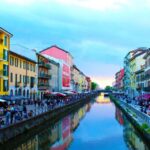
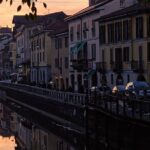
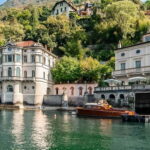
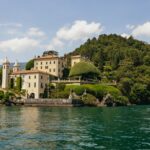
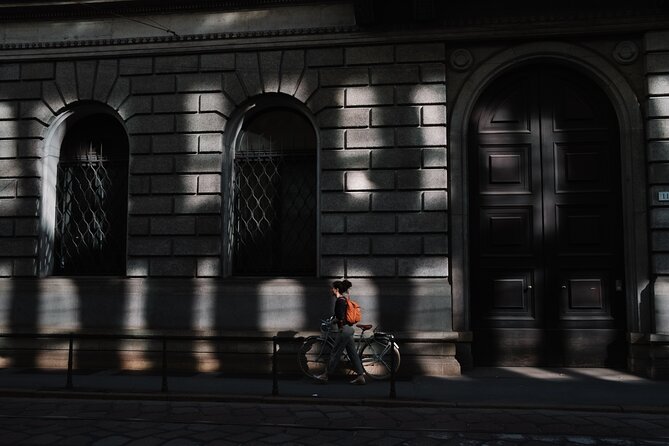
Darsena to Navigli Canals: Reflections That Actually Teach Composition
The tour finishes in two linked water-focused areas: Darsena (the historic port district) and then the Navigli canals. This ending is smart because it gives you a visual payoff. Water adds reflections, color bleeding, and “layers” to scenes—perfect for composition practice.
Darsena has a waterfront promenade with bars and restaurants, plus street art. Even if you’re not trying to shoot nightlife, these streets can still offer great daytime framing. The key is to use the line of the promenade and the angles of buildings to pull the viewer through the frame.
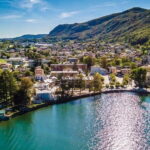
Then you move to the Navigli Canals, where the restored historic buildings and the waterways create that classic Milan photo look—boats, reflections, and colorful facades mirrored in the water. The tour also points out chances to photograph local artisans and street performers. That’s the secret ingredient for street photography: you can set up your framing and then let real life fill it.
Try this practical approach: once you spot a reflection that looks good, take a wide shot, then move slightly for a tighter crop. If your camera supports it, consider changing shutter speed to see whether the water becomes crisp or silky. The area gives you enough variety to experiment without needing a long travel time.
You can also read our reviews of more private tours in Milan


Price and Value for a Private Artist-Led Walk
The price is $240.82 per person for a 3 to 4 hour private experience. For many people, that sounds high until you translate it into what you’re actually buying: a customized, guided route through several distinct Milan photo zones, plus coaching from an artist guide named Ersan Ceviz.
What makes it good value is the structure. Many tours give you one landmark and a lot of walking. Here, the stops are chosen for photographic variety: grand architecture, academic courtyards, street art districts, design streets, and finally water reflections. That means your time with the guide is used for shooting opportunities rather than logistics.
Also, the tour lists free admission for the stops it includes. That’s helpful because your total spend stays predictable. And since it’s private, you’re not sharing the experience with strangers from a giant group, which typically makes it easier to ask for specific advice about your camera or the type of shots you want.
One last value angle: you can book it in English, and confirmation happens at booking. Add the fact it’s offered on mobile tickets and starts near major transit, and it becomes simpler to fit into a Milan itinerary.
How to Get Better Fast on This Route
This tour is built around the idea that better photos come from better attention, not luck. The Leica-store start helps you focus, and the rest of the walk keeps nudging you to switch styles as you move—architecture to street scenes to art to reflections.
Here’s how I’d work it during the walk:
- Start with intent: Before you take your first shot at each stop, pick one goal (a texture close-up, a portrait-like frame, a reflection shot).
- Use the time windows: Some stops are longer (like Ticinese and Navigli), while others are short (like Tortona and Sant’Ambrogio). For short stops, shoot fewer frames but with more variation.
- Watch light and angles: Churches and courtyards can reward you for shooting from corners and doorways, not just straight-on. Water scenes reward you for shifting your position slightly.
- Ask for adjustments: The best-rated part of this experience is the guidance and pointers, and you’ll get more from those moments if you ask what to try next.
Since the tour is private and you have moderate physical fitness expectations (so expect walking), you’ll get the most out of it if you bring a camera-ready mindset rather than expecting a long sit-and-see museum route.
Who This Tour Fits Best (and Who Might Skip It)
This is a strong match for you if you want to learn practical street photography skills in a real city environment. It’s also a good option if you like mixing “big” Milan scenes with creative neighborhoods, because the route doesn’t stay in one style for too long.
You’ll probably enjoy it most if:
- you shoot with a camera and want structured photo coaching from a guide, not just sightseeing
- you prefer smaller, private group attention
- you like architecture, street art, and water reflections in the same itinerary
You might want to choose something else if:
- you’re not comfortable walking for about 3 to 4 hours (moderate fitness is mentioned)
- you travel only for indoor sights or hate weather-dependent plans
- you need a tour that ends right back where you started (this one ends elsewhere)
Should You Book This Milan Street Photography Walk?
If you’re the kind of traveler who wants your photos to improve without guesswork, this is an easy yes. The Leica Store start gives you inspiration and a photographer mindset right away, and the rest of the route is arranged for photo variety, ending with the rewarding reflections around Navigli.
Book it especially if you value coaching from a real artist guide—feedback and pointers are a top highlight of the experience. It’s also a smart pick for a first or second Milan trip because it touches several neighborhoods that most “single landmark” tours skip.
FAQ
How long is the Private Milan Street Photography Walking Tour?
It runs about 3 to 4 hours.
Where does the tour start?
You meet at the Leica Store & Galerie Milano, Via Giuseppe Mengoni, 4, 20121 Milan, Italy, near Piazza del Duomo.
Where does the tour end?
The activity ends in a different location. The exact end details are provided at booking.
Is the tour in English?
Yes, it’s offered in English.
Are there admission tickets you need to pay at the stops?
The listed stops include free admission tickets.
What if the weather is poor?
The experience requires good weather. If it’s canceled due to poor weather, you’ll be offered a different date or a full refund.