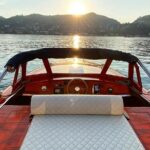
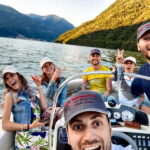
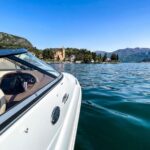
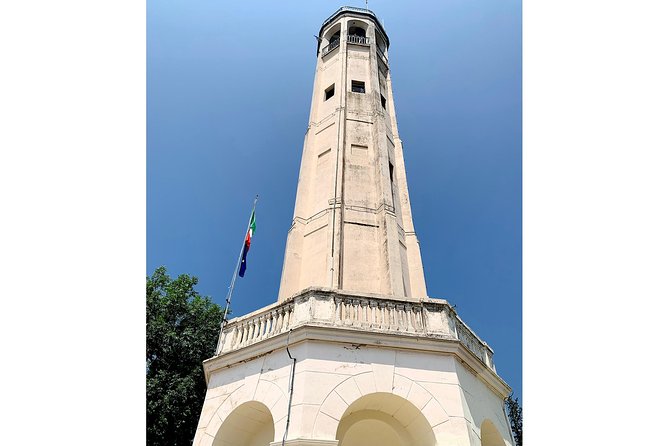
REVIEW · LAKE COMO
MTB Tour Lake Como Mountain Views & Local Cuisine
Book on Viator →Operated by Como Bike Tours · Bookable on Viator
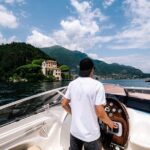
Mountain biking above Lake Como changes the pace fast. This ride is interesting because you skip the worst early uphill with the Como–Brunate funicular, then you earn amazing panoramas from Monte Boletto and the Faro voltiano. I also like how the guide experience is practical and route-focused, especially if you’re riding in a small private group with Max at the helm. One consideration: the downhill back takes confidence, and the chalet lunch is not included, so you’ll want to budget extra.
You’re on a mountain bike for about 3–4 hours, mixing gravel roads and trails. The tour runs in all weather, and you’ll want to dress for off-road riding, not just sightseeing. If you’re comfortable with steep uphills/downhills and trail riding labeled S2, you’ll have a great time.
In This Review
- Key Highlights You’ll Feel in Your Legs and Camera Roll
- Why Monte Boletto Feels Like the Real Lake Como
- Como–Brunate Funicular: The Smart Way to Start
- Faro voltiano: A Tiny Stop With Big Altitude Views
- The Monte Boletto Climb: Gravel, Steep Bits, and Real MTB Terrain
- Chalet Lunch: Fueling Up Without Losing the View
- Bikes, Rentals, and Ebike Sizing: Choose the Right Tool
- Guide Max and a Private Group: Why Small Details Change Everything
- Price and Value: What $314.16 Really Buys You
- Who Should Book This MTB Tour (and Who Should Skip It)
- Weather, Timing, and What to Bring
- Should You Book This Lake Como Mountain Bike Tour?
- FAQ
- How long is the MTB tour?
- Is the funicular or cable car part included?
- Do I need to bring my own bike?
- Is lunch included?
- What fitness level and biking skills do I need?
- What is the minimum age?
- What happens if the weather is poor?
- Is a passport required?
Key Highlights You’ll Feel in Your Legs and Camera Roll
- Como–Brunate funicular start to save energy and still get top views early
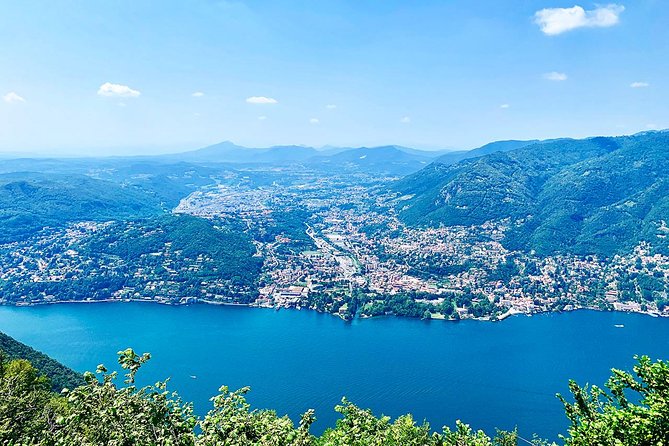
- Faro voltiano stop at about 1000 meters for views over Lake Como, Switzerland, and the Alps
- Monte Boletto ascent on gravel paths with payoff views across Lake Como and Lake Pusiano
- Chalet lunch on your tab so you can pick what fits you during the ride
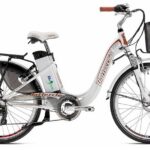
- Bike rental or ebike option (bike rental only with the right option; ebike sizing min height 150 cm)
- Private group with guide Max for a tailored route and real food advice
Why Monte Boletto Feels Like the Real Lake Como
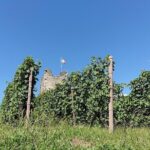
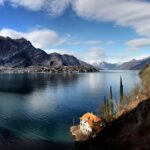
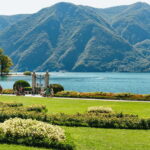
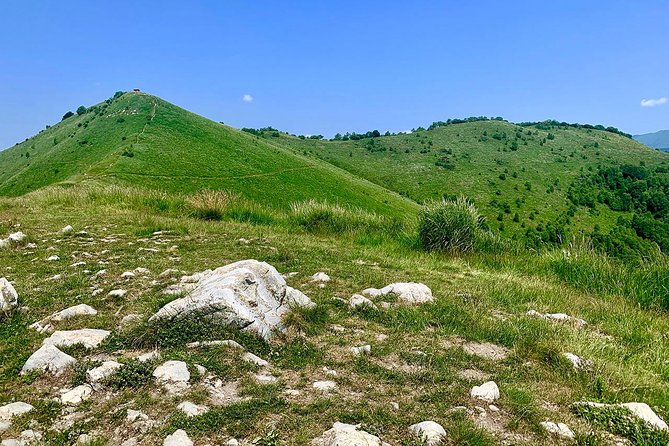
Lake Como can feel like a postcard from street level. This tour changes that. You’re high enough to see the whole system: the curve of the lake, the surrounding valleys, and the mountains you normally only spot from a viewpoint.
Monte Boletto is the star because it’s not just a single lookout moment. The ride builds toward it. First you get into “ride mode” with the funicular, then you move onto gravel and trail, and finally the top brings wide views over Lake Como plus Lake Pusiano, all in one sweep. That’s the kind of visual reward that makes the workout feel worth it.
What I like most is the balance: you get big scenery without turning the day into a full-day hike. This is a short, focused mountain bike experience that’s long enough to feel like an outing, but short enough to still leave you time for an evening meal back on the water.
You can also read our reviews of more tours and experiences in Lake Como.

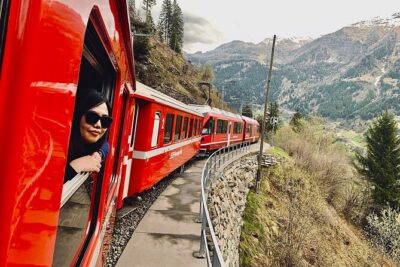
Como–Brunate Funicular: The Smart Way to Start
The tour begins with a short funicular ride on the Como–Brunate line. It takes about 10 minutes, and the point is simple: skip the first ugly asphalt climb so you can start biking where the views and the riding both matter.
Here’s how to think about it for your comfort. Funiculars don’t remove the effort from the day, but they change where you spend it. Instead of burning your legs on the steepest early stretch, you arrive ready to work the gravel roads and paths up toward Monte Boletto.
A practical note: the funicular is listed as having an admission ticket not included at Stop 1, while cable car tickets are listed as included in the overall package. That inconsistency is exactly the kind of thing that can cause last-minute confusion. When you book, double-check what your ticket bundle includes for the Como–Brunate ride so you’re not scrambling at the station.
Faro voltiano: A Tiny Stop With Big Altitude Views
After the funicular, you’ll reach Faro voltiano, a lighthouse dedicated to Alessandro Volta, sitting at about 1000 meters above sea level. This is a short pause—about 5 minutes—but it does something valuable: it gives your brain a “frame” for the day.
From Faro voltiano you can appreciate stunning views that include Lake Como and even Switzerland and the Alps on clear days. That’s the kind of moment that helps you understand where you are as you climb. When you later look down from Monte Boletto, those distant lines make more sense.
Also, it’s a good pacing tool. A quick, scenic stop keeps the ride from becoming all throttle and no payoff. You’ll come back to the bike feeling refreshed rather than just pushed along.
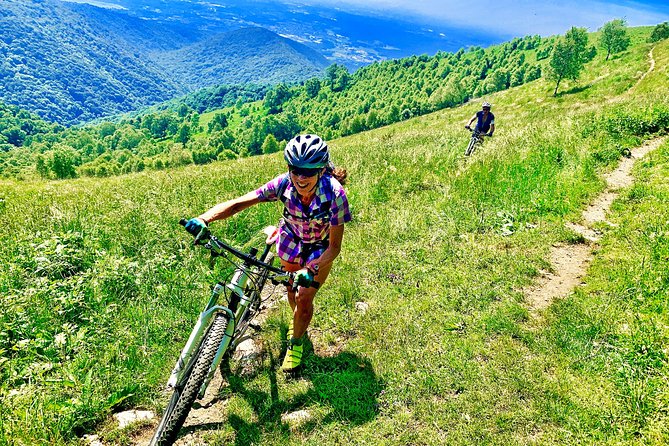
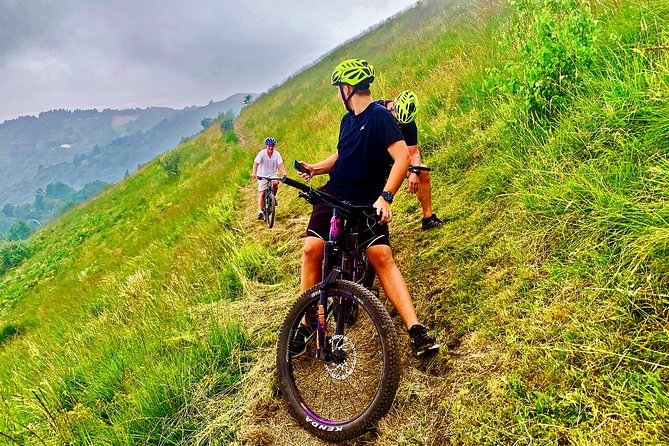
The Monte Boletto Climb: Gravel, Steep Bits, and Real MTB Terrain
The main ride climbs Monte Boletto using gravel roads and paths. Expect a mix, not one single surface. Gravel means traction is never perfect, and you’ll want to ride with smooth pedal strokes and calm steering, especially in any rough patches.
The tour is designed for people who are comfortable riding off-road trails rated S2. That rating matters. S2 usually means more than flat paths. In plain terms: you should feel confident on uneven ground, and you should be ready for steep uphill segments and steep downhill segments.
Here’s what to watch for so the climb stays fun:
- Use your brakes early on steep downhills. Don’t wait until the last second.
- Keep your weight steady over the bike when the ground changes from gravel to trail.
- Expect a slower rhythm than you’d use on a road ride. That’s normal and part of the experience.
At the top, you’re rewarded with views over Lake Como and the wider area, including Lake Pusiano and the northern Lombardia region when conditions are right. This is also where your photos stop looking like “I was there” snapshots and start looking like “I understand the geography” pictures.
Chalet Lunch: Fueling Up Without Losing the View

Lunch happens at a chalet restaurant during the ride. It’s your choice, and it’s own expense, so you’ll pay for what you pick. That sounds like a downside on paper, but it can be a good thing in reality.
A guided mountain bike day needs calories, but it also needs flexibility. If you’re someone who wants something lighter, you can go that route. If you want a proper sit-down meal, you can do that too. The guide can also steer you toward what’s best for the moment—especially because food timing matters once you’re done riding.
One thing I’d take from the vibe around this tour: the guide Max is praised not just for route knowledge, but for practical suggestions for a good lunch or even later dinner plans. That matters when you’re tired and hungry and you don’t want to wander around blind looking for something that will actually work after cycling.
Tip: plan to eat with your next downhill in mind. Heavy, slow meals can make you feel sluggish. Aim for steady energy and don’t overdo it.
Bikes, Rentals, and Ebike Sizing: Choose the Right Tool
You need a mountain bike for this tour. If you don’t bring one, there’s a rental option available. Just pay attention to the option you select: bike rental is included only when you choose the cycling tour option that specifically includes bike rental.
If you go for an ebike, there’s a sizing requirement. The minimum height for ebike sizing purposes is 150 cm (4′ 11″). That’s not a random detail—it’s there because ebike fit affects control on steep downhills and uneven trails.
If you’re deciding between a manual MTB and an ebike, here’s the honest way to think about it:
- Choose a manual bike if you want the full workout and you’re confident with steep climbs and trail handling.
- Choose an ebike if you want help on the uphills but still want to ride the same off-road route.
Either way, you’ll still be on gravel and trail. The bike choice changes effort level, not the reality of trail riding.
Guide Max and a Private Group: Why Small Details Change Everything
This is a private tour/activity, meaning only your group participates. In a place like Lake Como, where roads and viewpoints can get crowded fast, a private setup makes the ride feel more relaxed. You can take the pace you need, and the guide can respond to your group’s comfort level.
The standout name that comes up is Max, who’s described as professional, friendly, and focused on finding the best roads and mountain routes. The practical part is that Max doesn’t just lead; he gives real advice—like where to eat something good during the day, not just after you get home.
That matters because the tour is short. With only a few hours, you don’t want extra time lost to uncertainty. A guide who already knows the right lines on the mountain, the timing for views, and how to steer you toward a solid chalet stop makes the whole day feel smoother.
Price and Value: What $314.16 Really Buys You
The price is listed at $314.16 per person, for a 3 to 4 hour mountain bike experience in the Lake Como hills. That can sound steep if you think of it as just “bike rental plus a ride.” But this package is more than that.
Here’s what you get included:
- a professional guide
- local taxes
- the TripAdvisor Experiences brokerage fee
- cable car tickets (with the earlier note that Stop 1 lists admission not included, so confirm at booking)
- bike rental only if you choose the option that includes it
You also have group discounts noted, and the tour is booked on average 96 days in advance, which hints at demand for exactly this kind of short but scenic MTB day.
Your biggest extra costs are likely:
- lunch and drinks at the chalet (own expense)
- bike rental only if you didn’t pick the option that includes it
So is it good value? If you want a guided mountain bike route with real viewpoints and a funicular assist, it’s a fair price for the time, the included guide service, and the logistics that remove guesswork. If you’d rather explore independently, you’d save money—but you’d also give up the route knowledge and the planning that gets you to views like Faro voltiano and Monte Boletto efficiently.
Who Should Book This MTB Tour (and Who Should Skip It)
This is a strong match if:
- you have strong physical fitness
- you’re comfortable on off-road trails rated S2
- you can handle steep uphills and downhills
- you want more than flat lake sightseeing
It’s also a good pick if you like the idea of combining a short scenic ride early (funicular views over Como) with a longer climb reward later (Monte Boletto panoramas). You’ll get a clear “day arc” instead of random stops.
I’d skip this tour if you’re looking for an easy, mostly flat ride. The trail and steep segments are part of the experience. Also, the minimum age is 14, and riders under 18 must be accompanied by an adult, so plan accordingly.
Weather, Timing, and What to Bring
This tour operates in all weather conditions, and you should dress appropriately for riding. That’s important in the hills around Lake Como, where conditions can shift. If extreme weather hits, the tour may be rescheduled or fully refunded.
What this means for you: treat it as an outdoor ride first, sightseeing second. Wear layers you can move in. Bring something to handle dust or light rain. And since you’re mixing viewpoints and off-road segments, a small day bag makes sense for your essentials.
One more practical detail: a current valid passport is required on the day of travel. That’s easy to forget until you’re about to leave for the day, so keep it in your checklist.
Should You Book This Lake Como Mountain Bike Tour?
I’d book it if you want a compact, high-reward MTB day that mixes logistics-smart sightseeing with real off-road riding. The funicular start is a smart use of energy, Faro voltiano is a quick altitude win, and Monte Boletto is where you get the big view payoff.
The main reasons to pass are simple: if steep trail riding doesn’t sound fun to you, or if you’re uncomfortable with S2 terrain, you’ll likely feel stressed instead of satisfied. Also factor in that lunch is extra and you’ll want to budget for it.
If your group is ready for a real ride and you want a guide who can steer you toward good routes and good food, this is the kind of Lake Como experience that sticks.
FAQ
How long is the MTB tour?
It runs about 3 to 4 hours.
Is the funicular or cable car part included?
Cable car tickets are listed as included, but the stop details for the Como–Brunate funicular note an admission ticket not included. Check your booking confirmation so you know what’s covered for your exact date.
Do I need to bring my own bike?
A mountain bike is needed. If you select the option with bike rental, a bike rental is included; if you select the cycling tour only option, you’ll need to bring your own bike.
Is lunch included?
No. Lunch at the chalet restaurant is own expense.
What fitness level and biking skills do I need?
You should have strong physical fitness and be comfortable riding on off-road trails rated S2, including steep uphills and downhills.
What is the minimum age?
The minimum age is 14. Riders below 18 must be accompanied by an adult.
What happens if the weather is poor?
The tour operates in all weather conditions, but in extreme weather it may be rescheduled or fully refunded. If it’s canceled due to poor weather, you’ll be offered a different date or a full refund.
Is a passport required?
Yes. A current valid passport is required on the day of travel.